Module Installation
To install a new module in your system, follow these steps in order.
System Power
Turn off the power to the modular system. To be extra safe, disconnect the system from the mains AC power coming from the wall socket.
Module Power
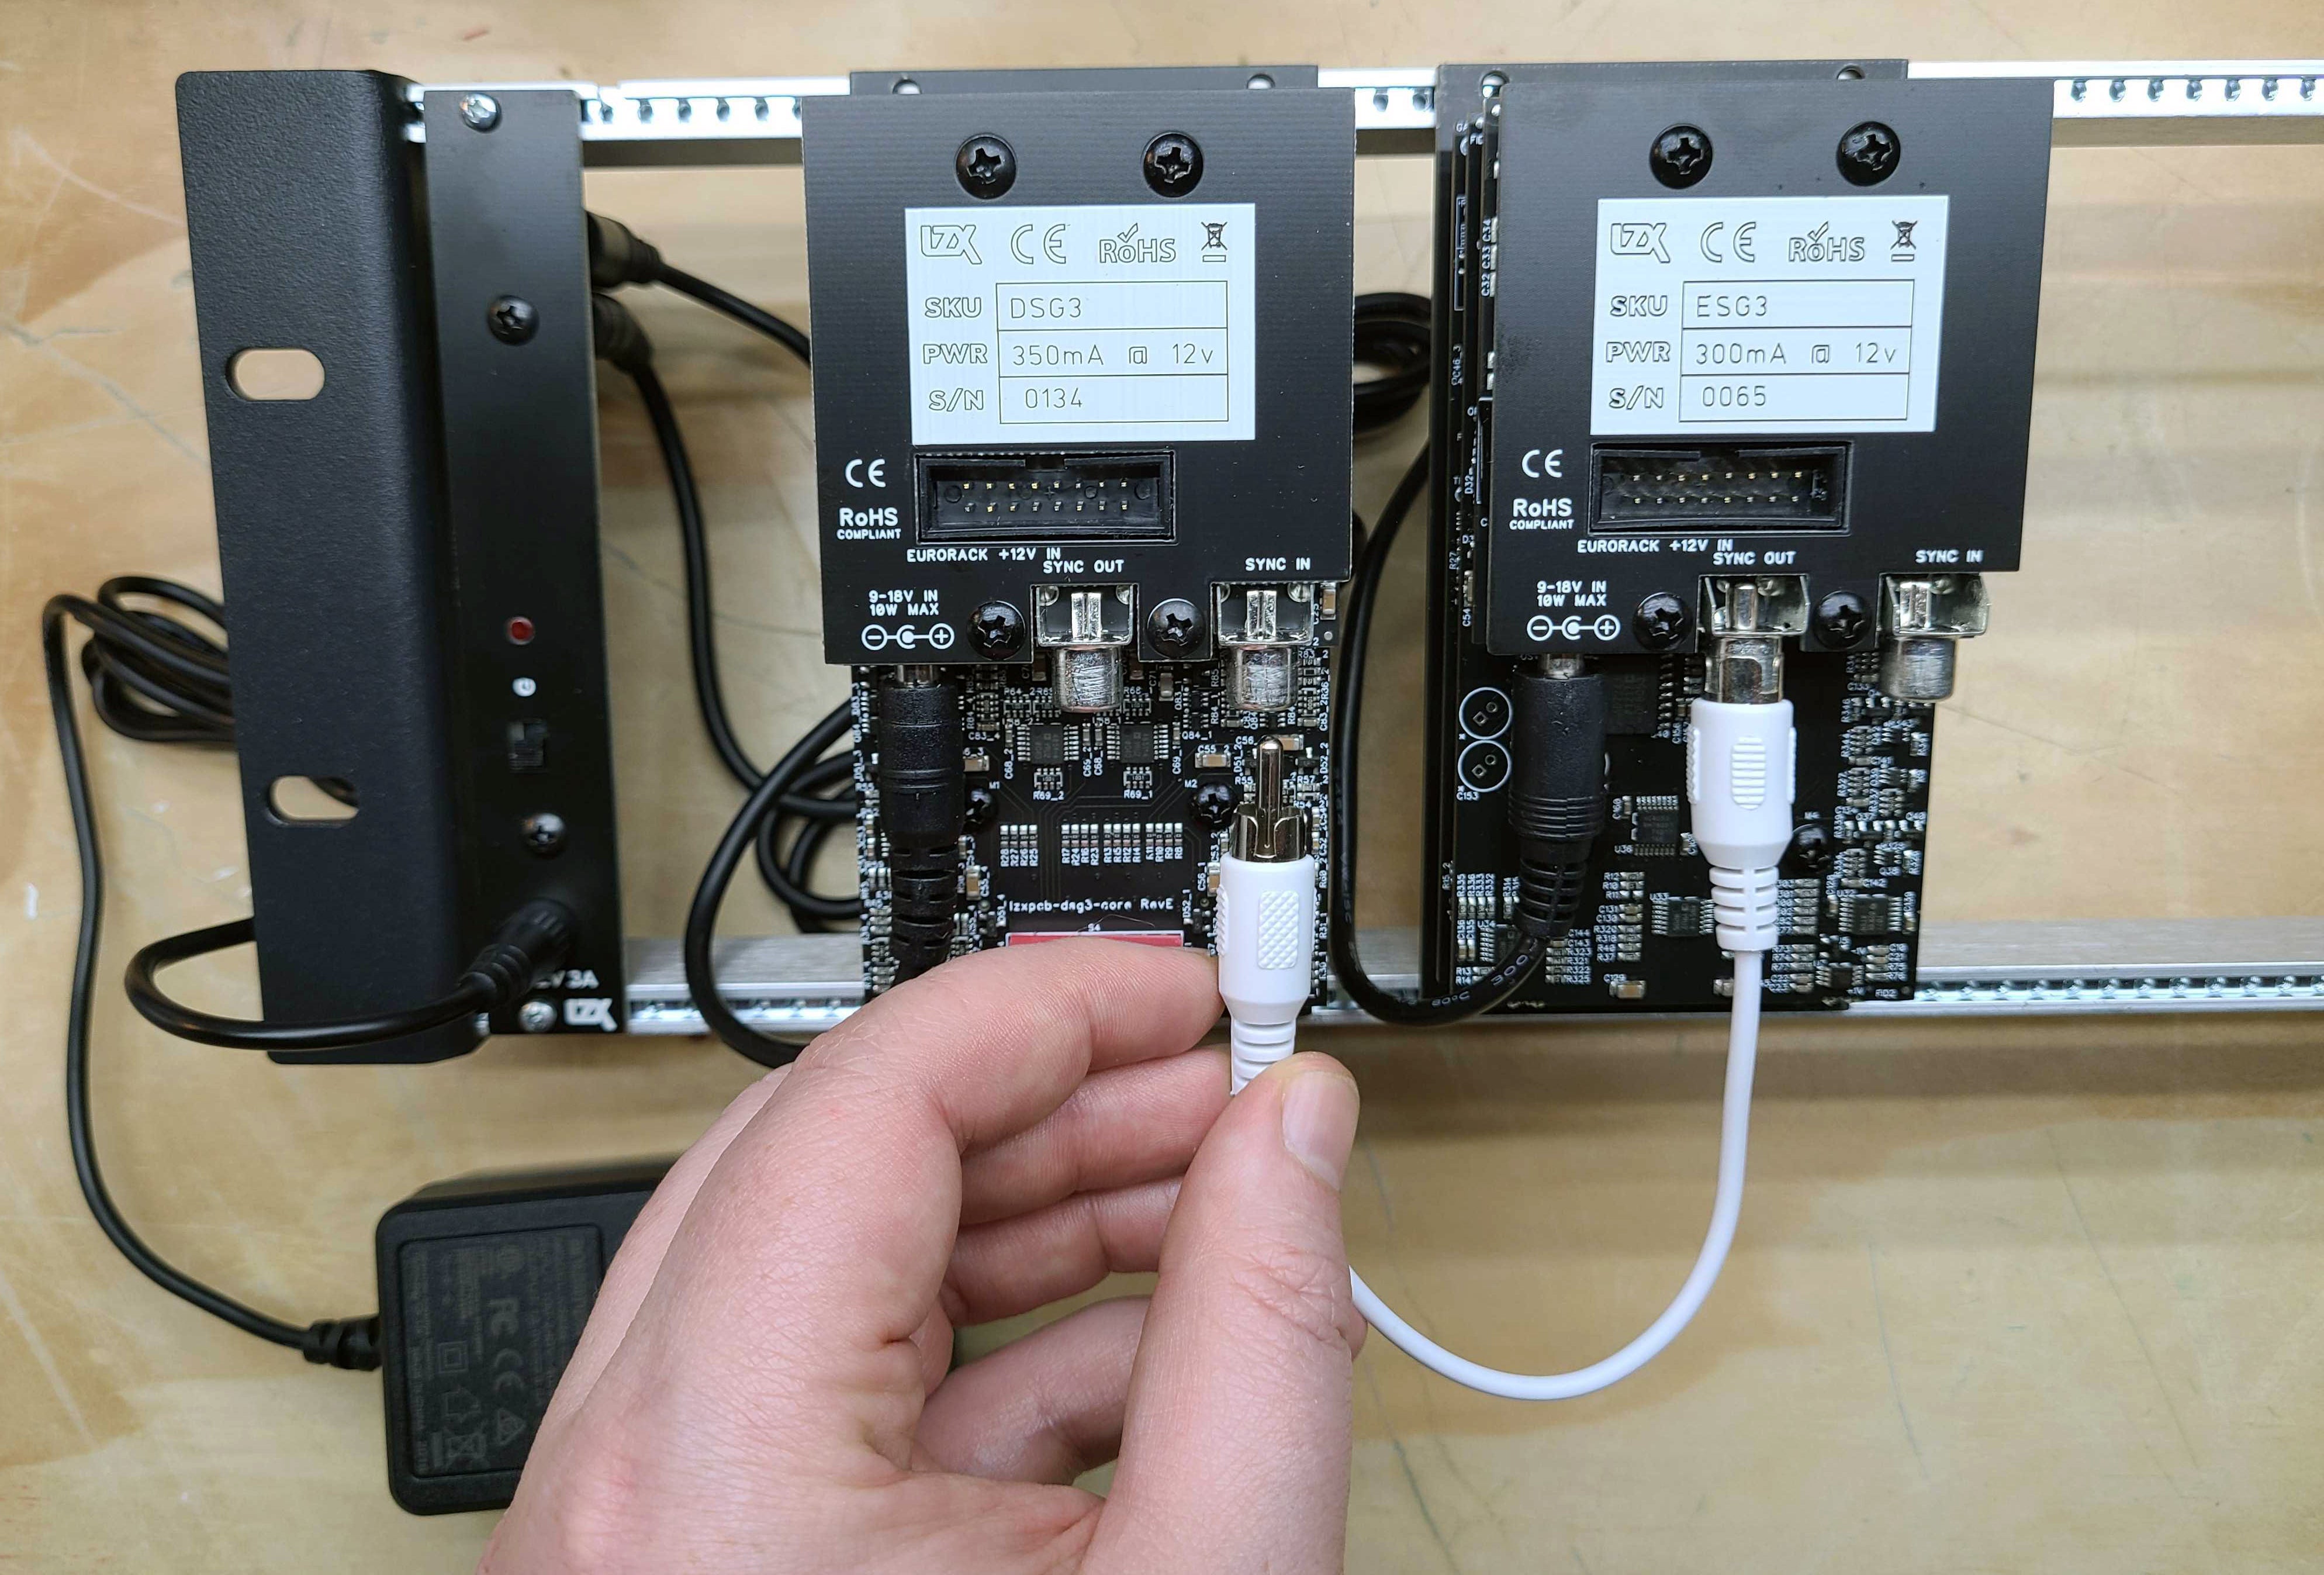
Every LZX Gen3 module has an integrated power regulation submodule on the back of the unit. It accepts 12 volt DC power, connected to the 2.1 mm barrel jack or the 16-pin Eurorack power connector. Do not use both connectors at the same time.
For the cleanest visual signal, use barrel power. Eurorack power supplies aren't designed for the high frequency signals of video, and may cause visible artifacts such as ripples in the image.
Be mindful of the power consumption of the module, the power consumption of the entire system, and the rated output of the power supply, measured in milliamps (mA). It's important to actually do the math. Don't allow power consumption to exceed the output of the supply. Modules may not work properly, or the power supply may overheat.
A best practice is to leave at least 10% power headroom. For example, if the power supply is rated for 3000 mA, then only load it with approximately 2700 mA of power consumption. This ensures that even if the system consumes more power than the sum of its nominal manufacturer ratings, there shouldn't be an issue with malfunction or overheating. It should also help avoid problems that can occur due to greater current draw when the system is powered up. Especially in mixed systems with modules from other manufacturers, it's best to avoid these sorts of problems before they occur.
Video Sync
Some LZX modules require video sync. This signal carries timing information for video frames and individual video scanlines. If the module has a Video Sync RCA jack on the rear, it must be connected to a sync source. Without sync, the module will not operate at all.
In a video synthesizer, sync must be separated from picture information so that the picture may be manipulated, but the sync is not corrupted. Sync is stripped from any external video signal at the input decoder stage. New, pristine sync is generated and combined with the synthesizer's picture information at the output encoder stage. Between those two stages, sync propagates to various modules via their rear sync in and out jacks. Some modules do not require sync. Others, such as TBC2 also have sync input and output on the front panel.
Sync must ultimately come from a module designed as a sync generator. In LZX Gen3 systems, the required module is ESG3 Encoder and Sync Generator. ESG3 can operate in two modes: internal or external. It can create sync timing internally, or it can genlock to an external sync source. For details, see the ESG3 documentation.
All sync connections are made with RCA cables. Sync can be connected in series or in parallel. In series configurations, sync runs through daisy-chained modules. Sync flows out of the generator to a module sync input. The sync output of that module is connected to the sync input of the next module in series. In parallel configurations, a distribution amplifier such as Bus 168 accepts sync from the generator and duplicates the sync to the inputs of all other modules.
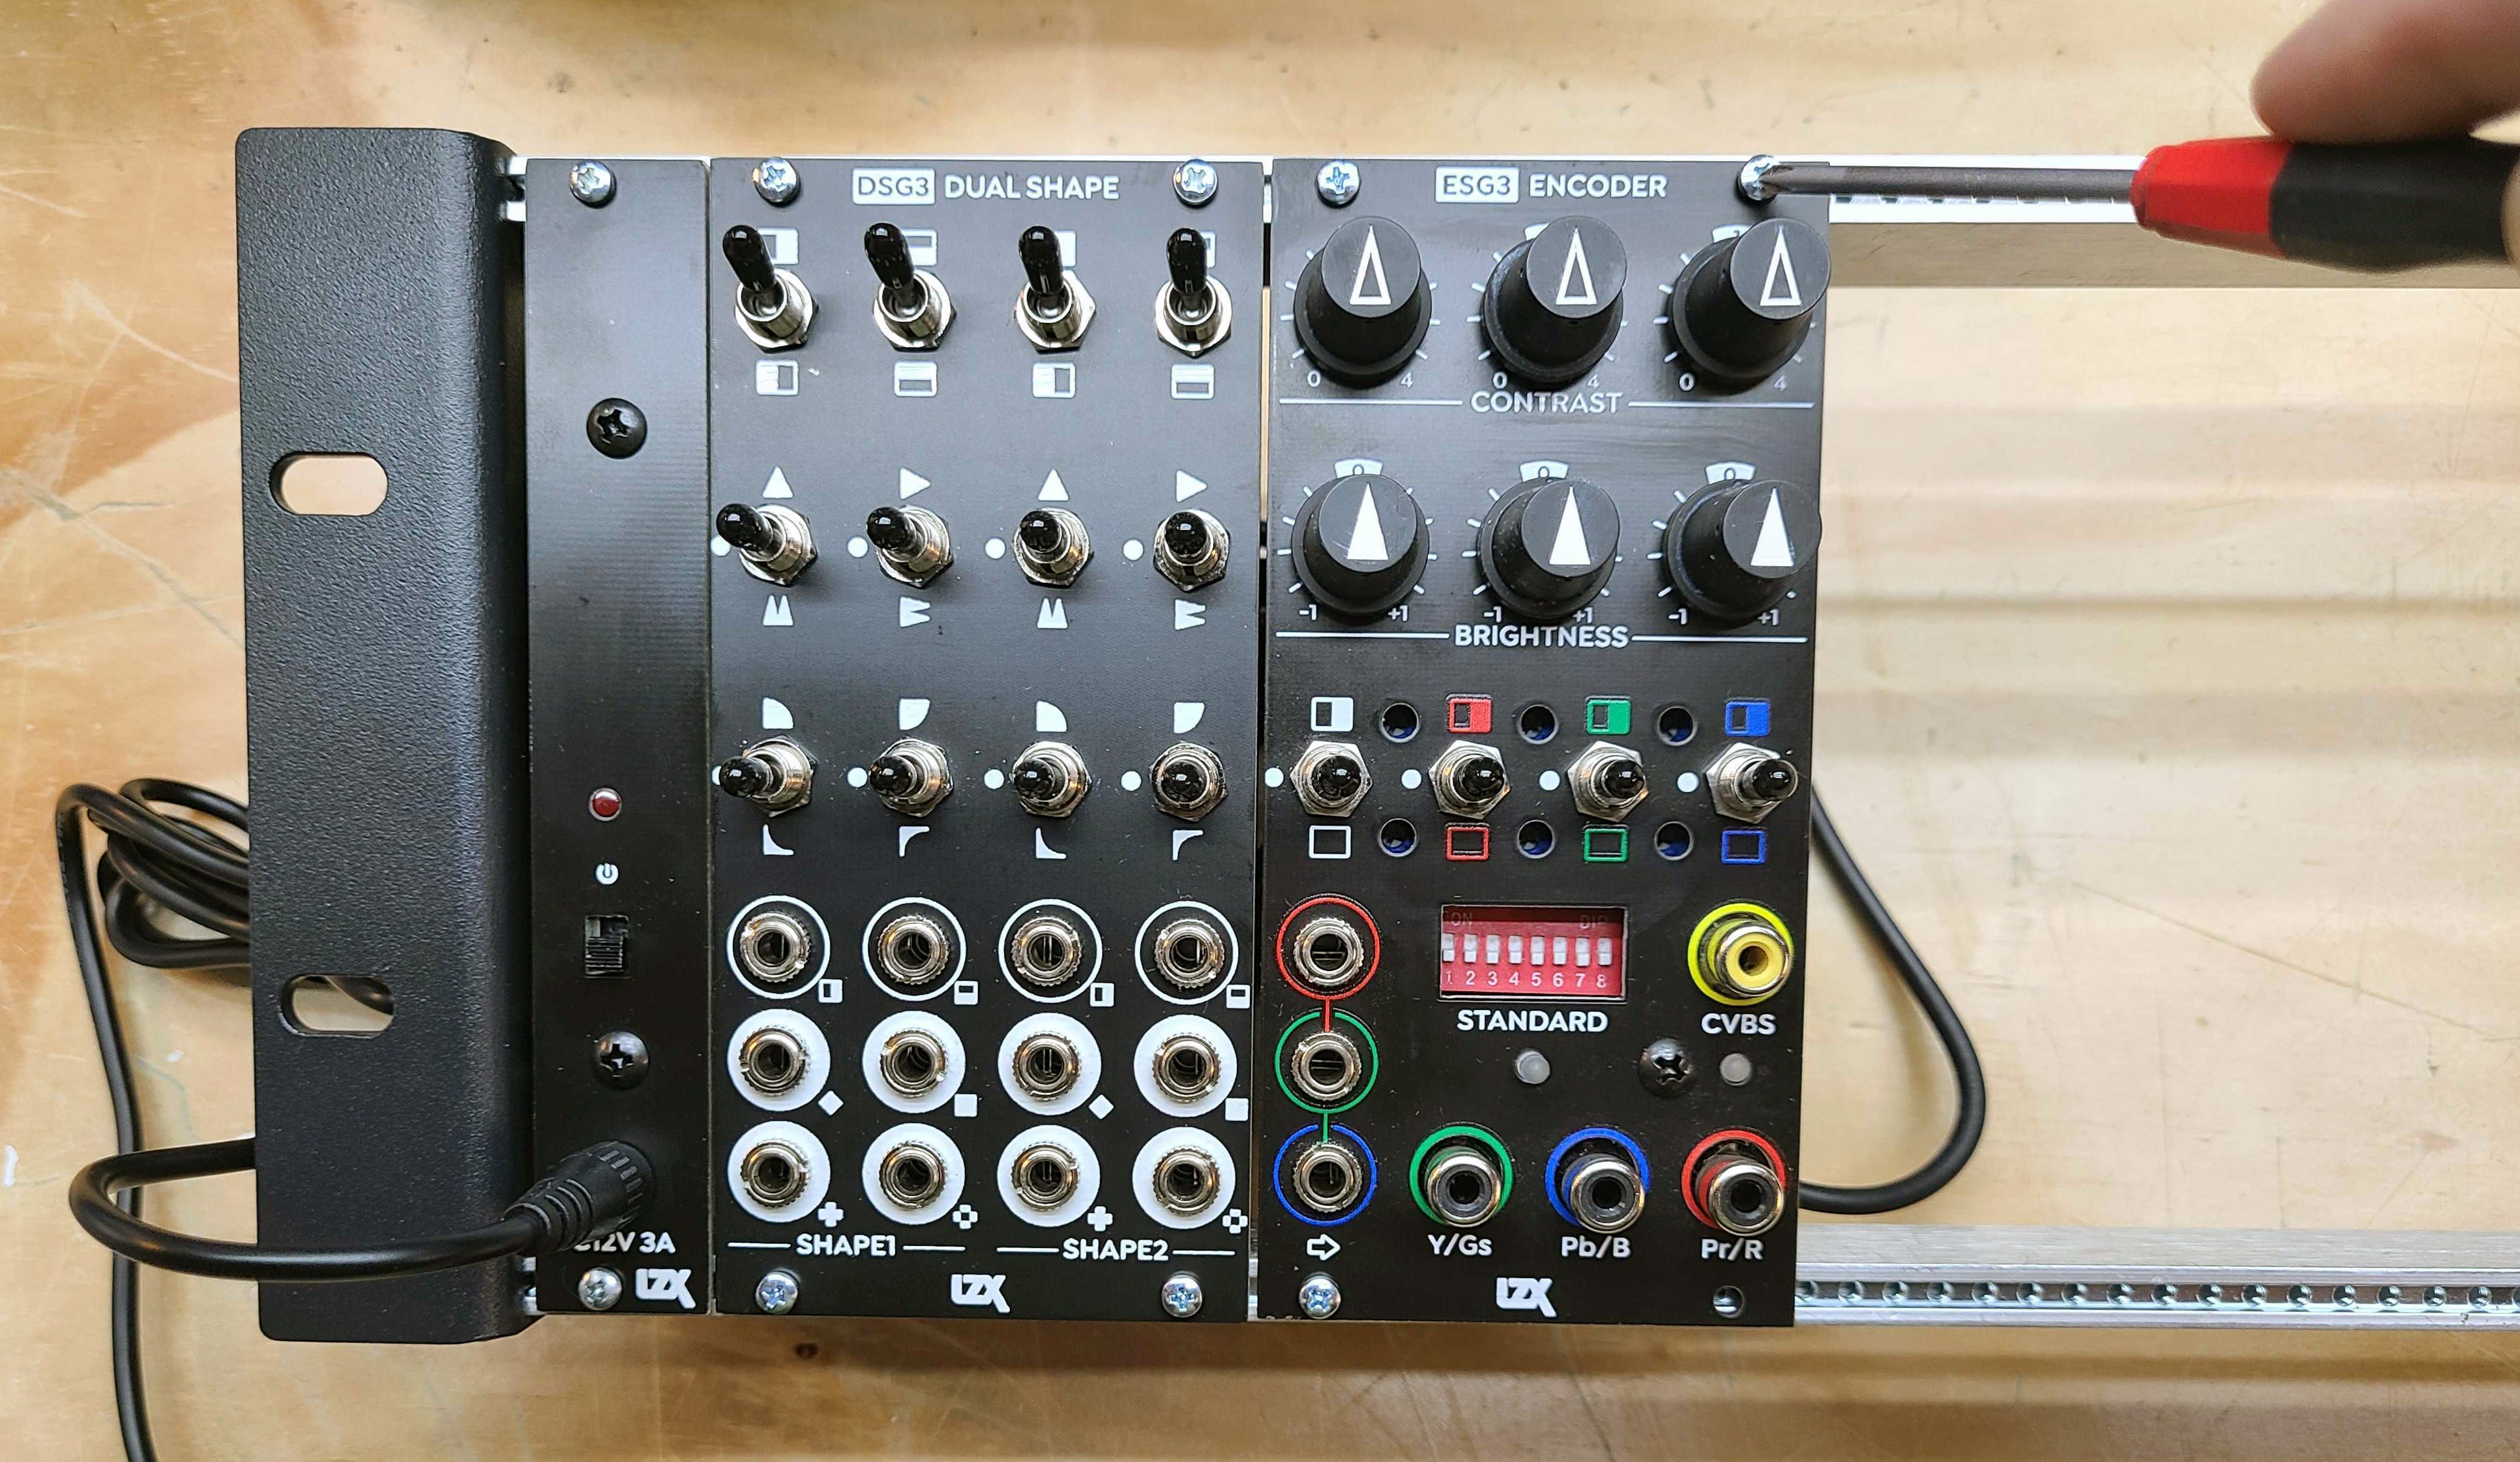
Mounting
Ensure that sufficient rack space is present where you wish to install the new module, and that no screws or other obstructions are present. Secure the module to the EuroRack mounting rails using the screws provided or specified by the manufacturer of your Eurorack enclosure.