Videomancer
This guide gets you up and running with Videomancer in minutes. For complete documentation on all features, connections, and capabilities, see the User Manual. For individual program documentation, see the Program Guides index.
What You Need
- Videomancer with included 12V DC power supply
- HDMI source device — camera, media player, computer, game console, or any device with HDMI output
- HDMI display — monitor, TV, or capture device with HDMI input
- Two HDMI cables — standard full-size HDMI on both ends
This guide covers HDMI connections only. Videomancer also supports composite, S-Video, component YPbPr, RGB with sync on green, and the LZX 1V modular standard. For analog setup procedures, see the Signal Paths section of the User Manual.
Step 1: Connect Power
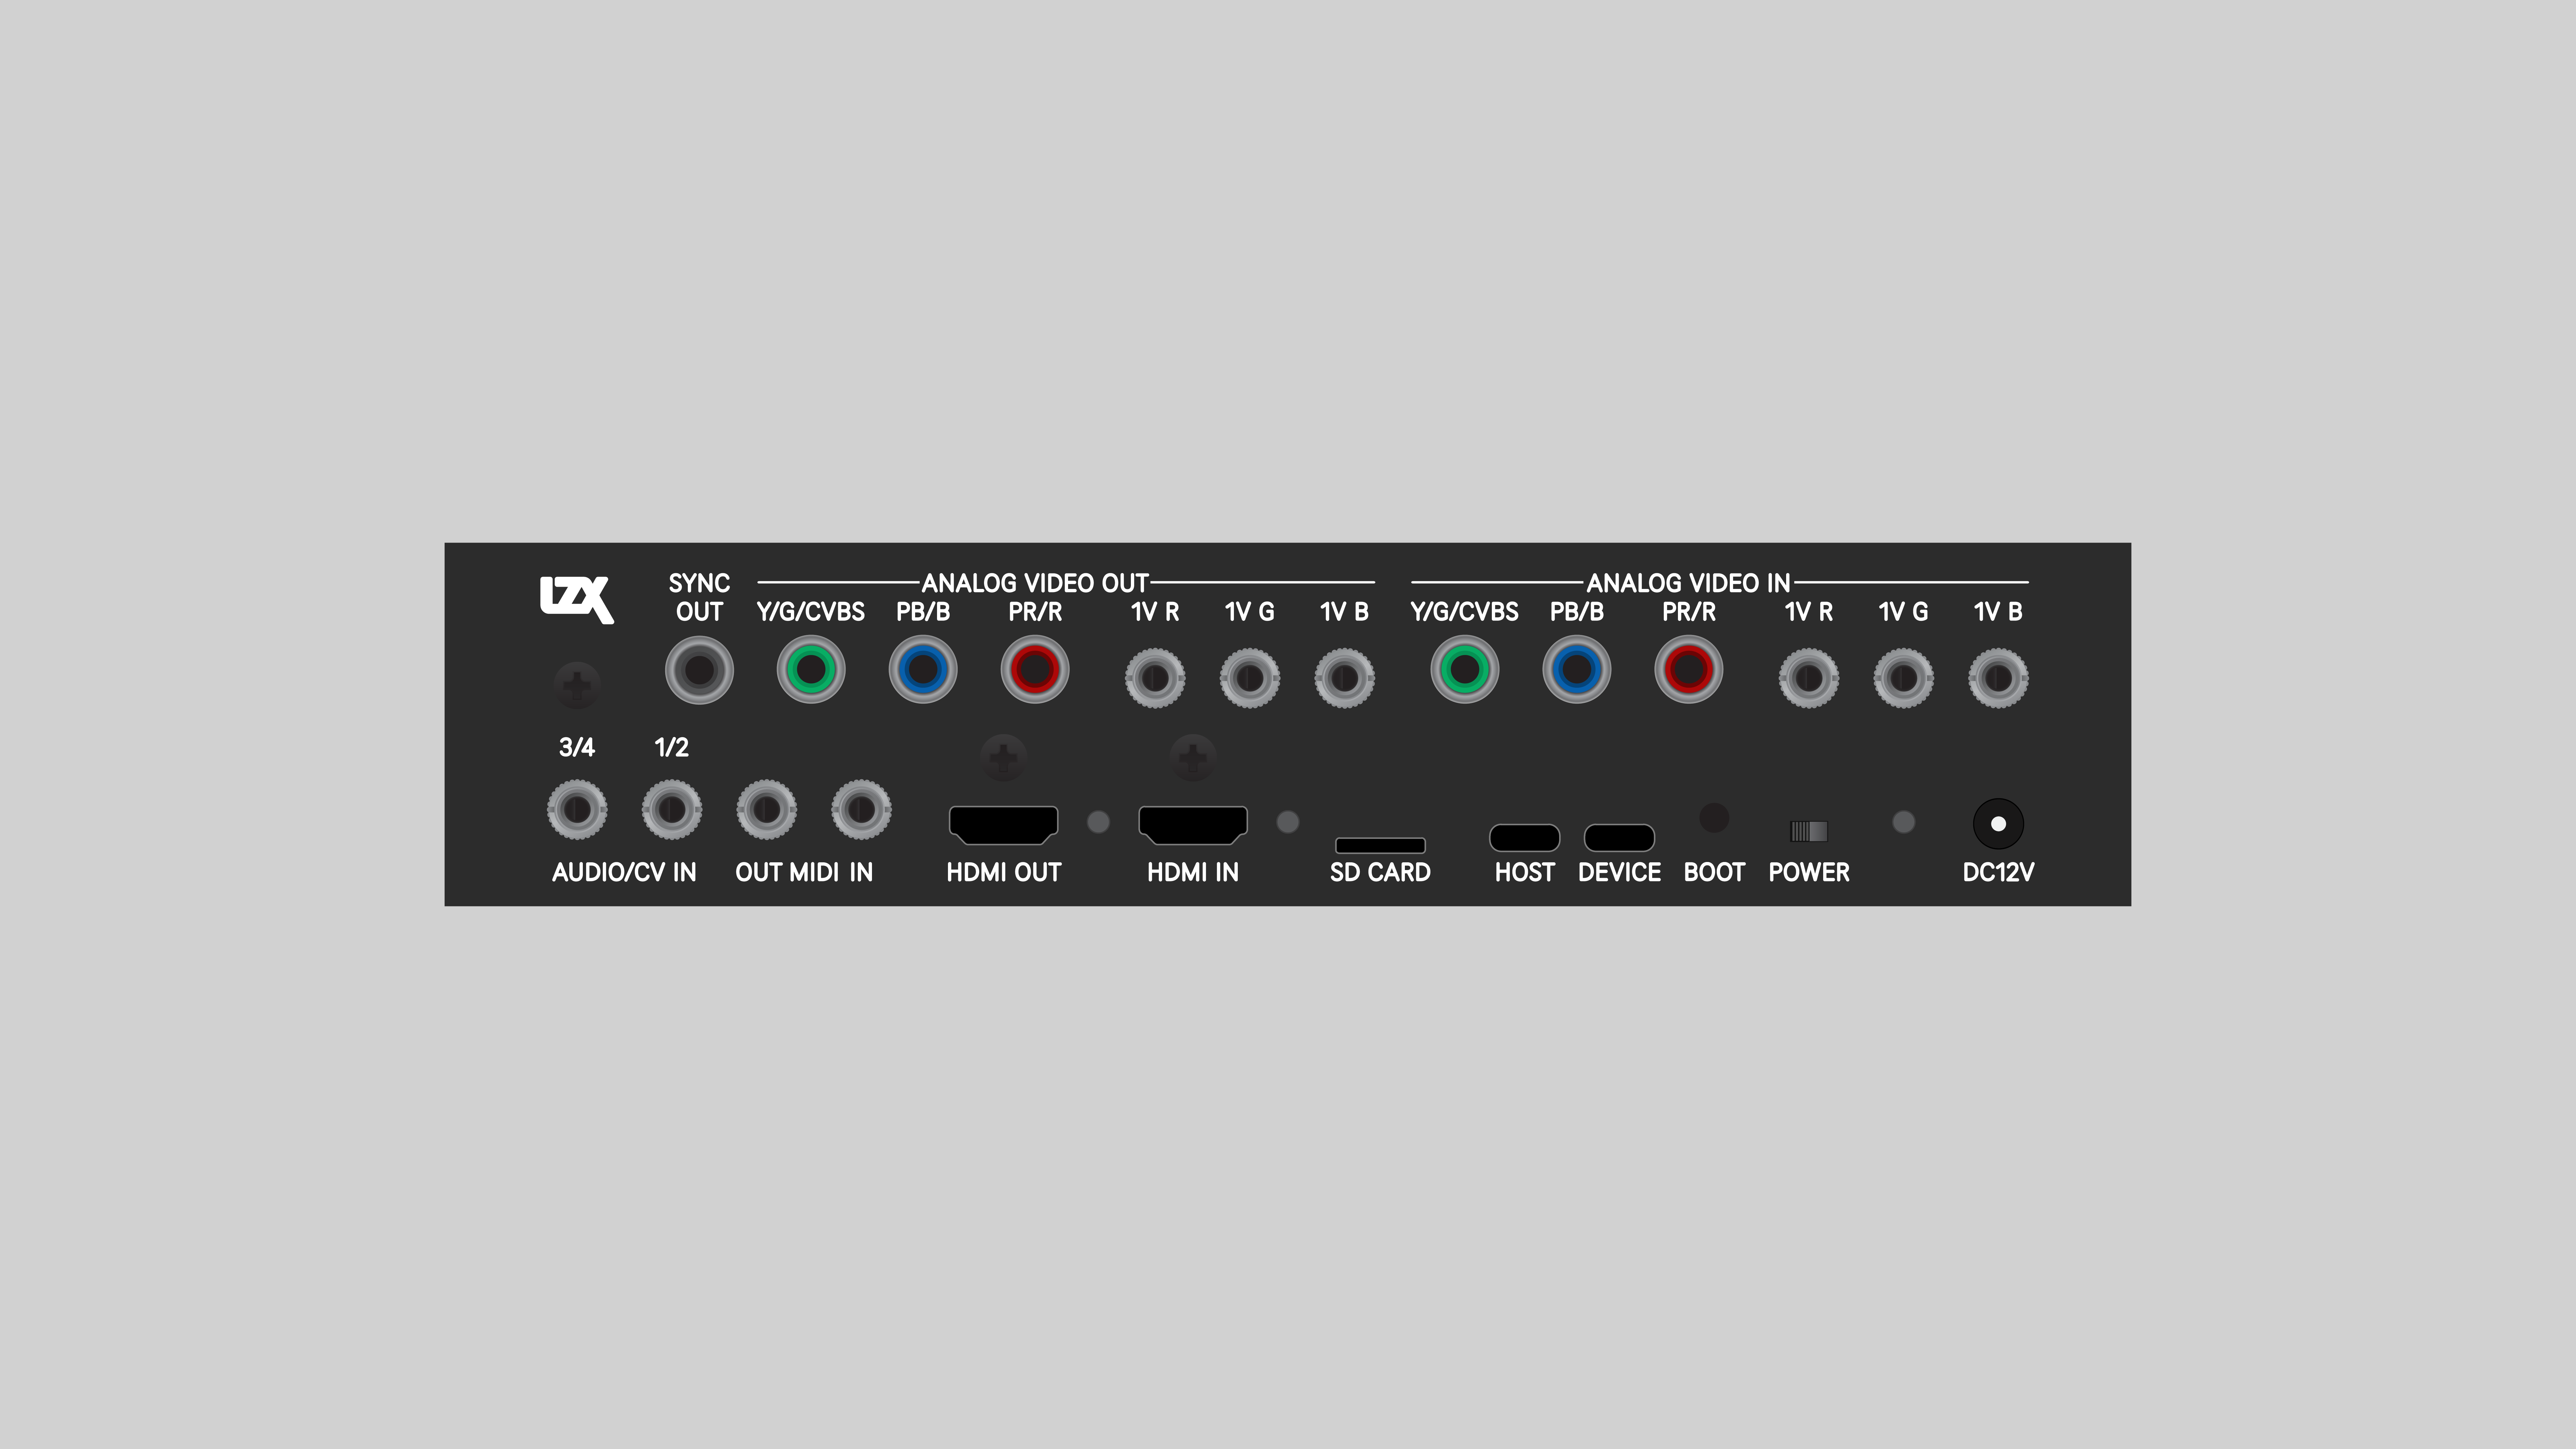
Plug the included 12V DC power supply into the barrel jack on the rear panel. Leave the power switch in the OFF position for now.
Step 2: Connect HDMI
- Connect your HDMI source device to the HDMI IN jack on the rear panel
- Connect the HDMI OUT jack on the rear panel to your display
Both HDMI jacks are full-size connectors. No adapters are required for standard HDMI cables.
Step 3: Power On
Switch the rear panel power switch to the ON position. Videomancer boots up. Press the SYSTEM button (white, top left of front panel) to display the system status screen on the LCD.
The rear panel HDMI LED lights illuminate when a valid HDMI connection is detected on each port.
Step 4: Set the Video Route
Tell Videomancer to process your HDMI input. From the system status screen:
- Turn the Rotary Encoder to select Vid Route Mode
- Press the Rotary Encoder to edit the setting
- Turn the Rotary Encoder to select HDMI In
- Press the Rotary Encoder to confirm
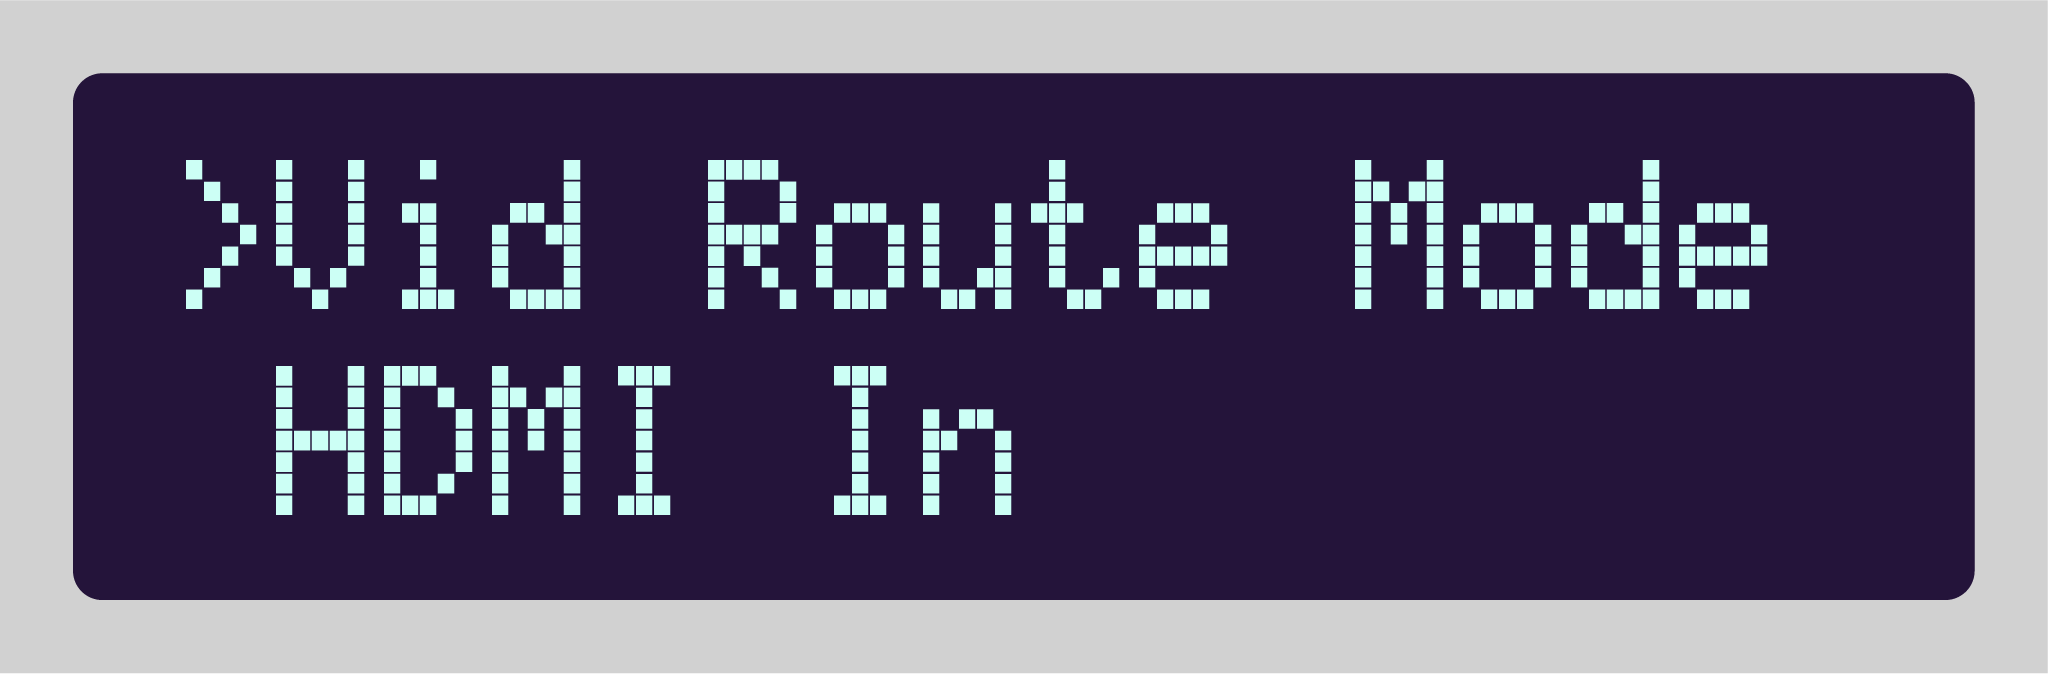
Your source video now passes through Videomancer's processor and out to your display.
Videomancer remembers this setting. You only need to set the Video Route Mode once.
Step 5: Load a Program
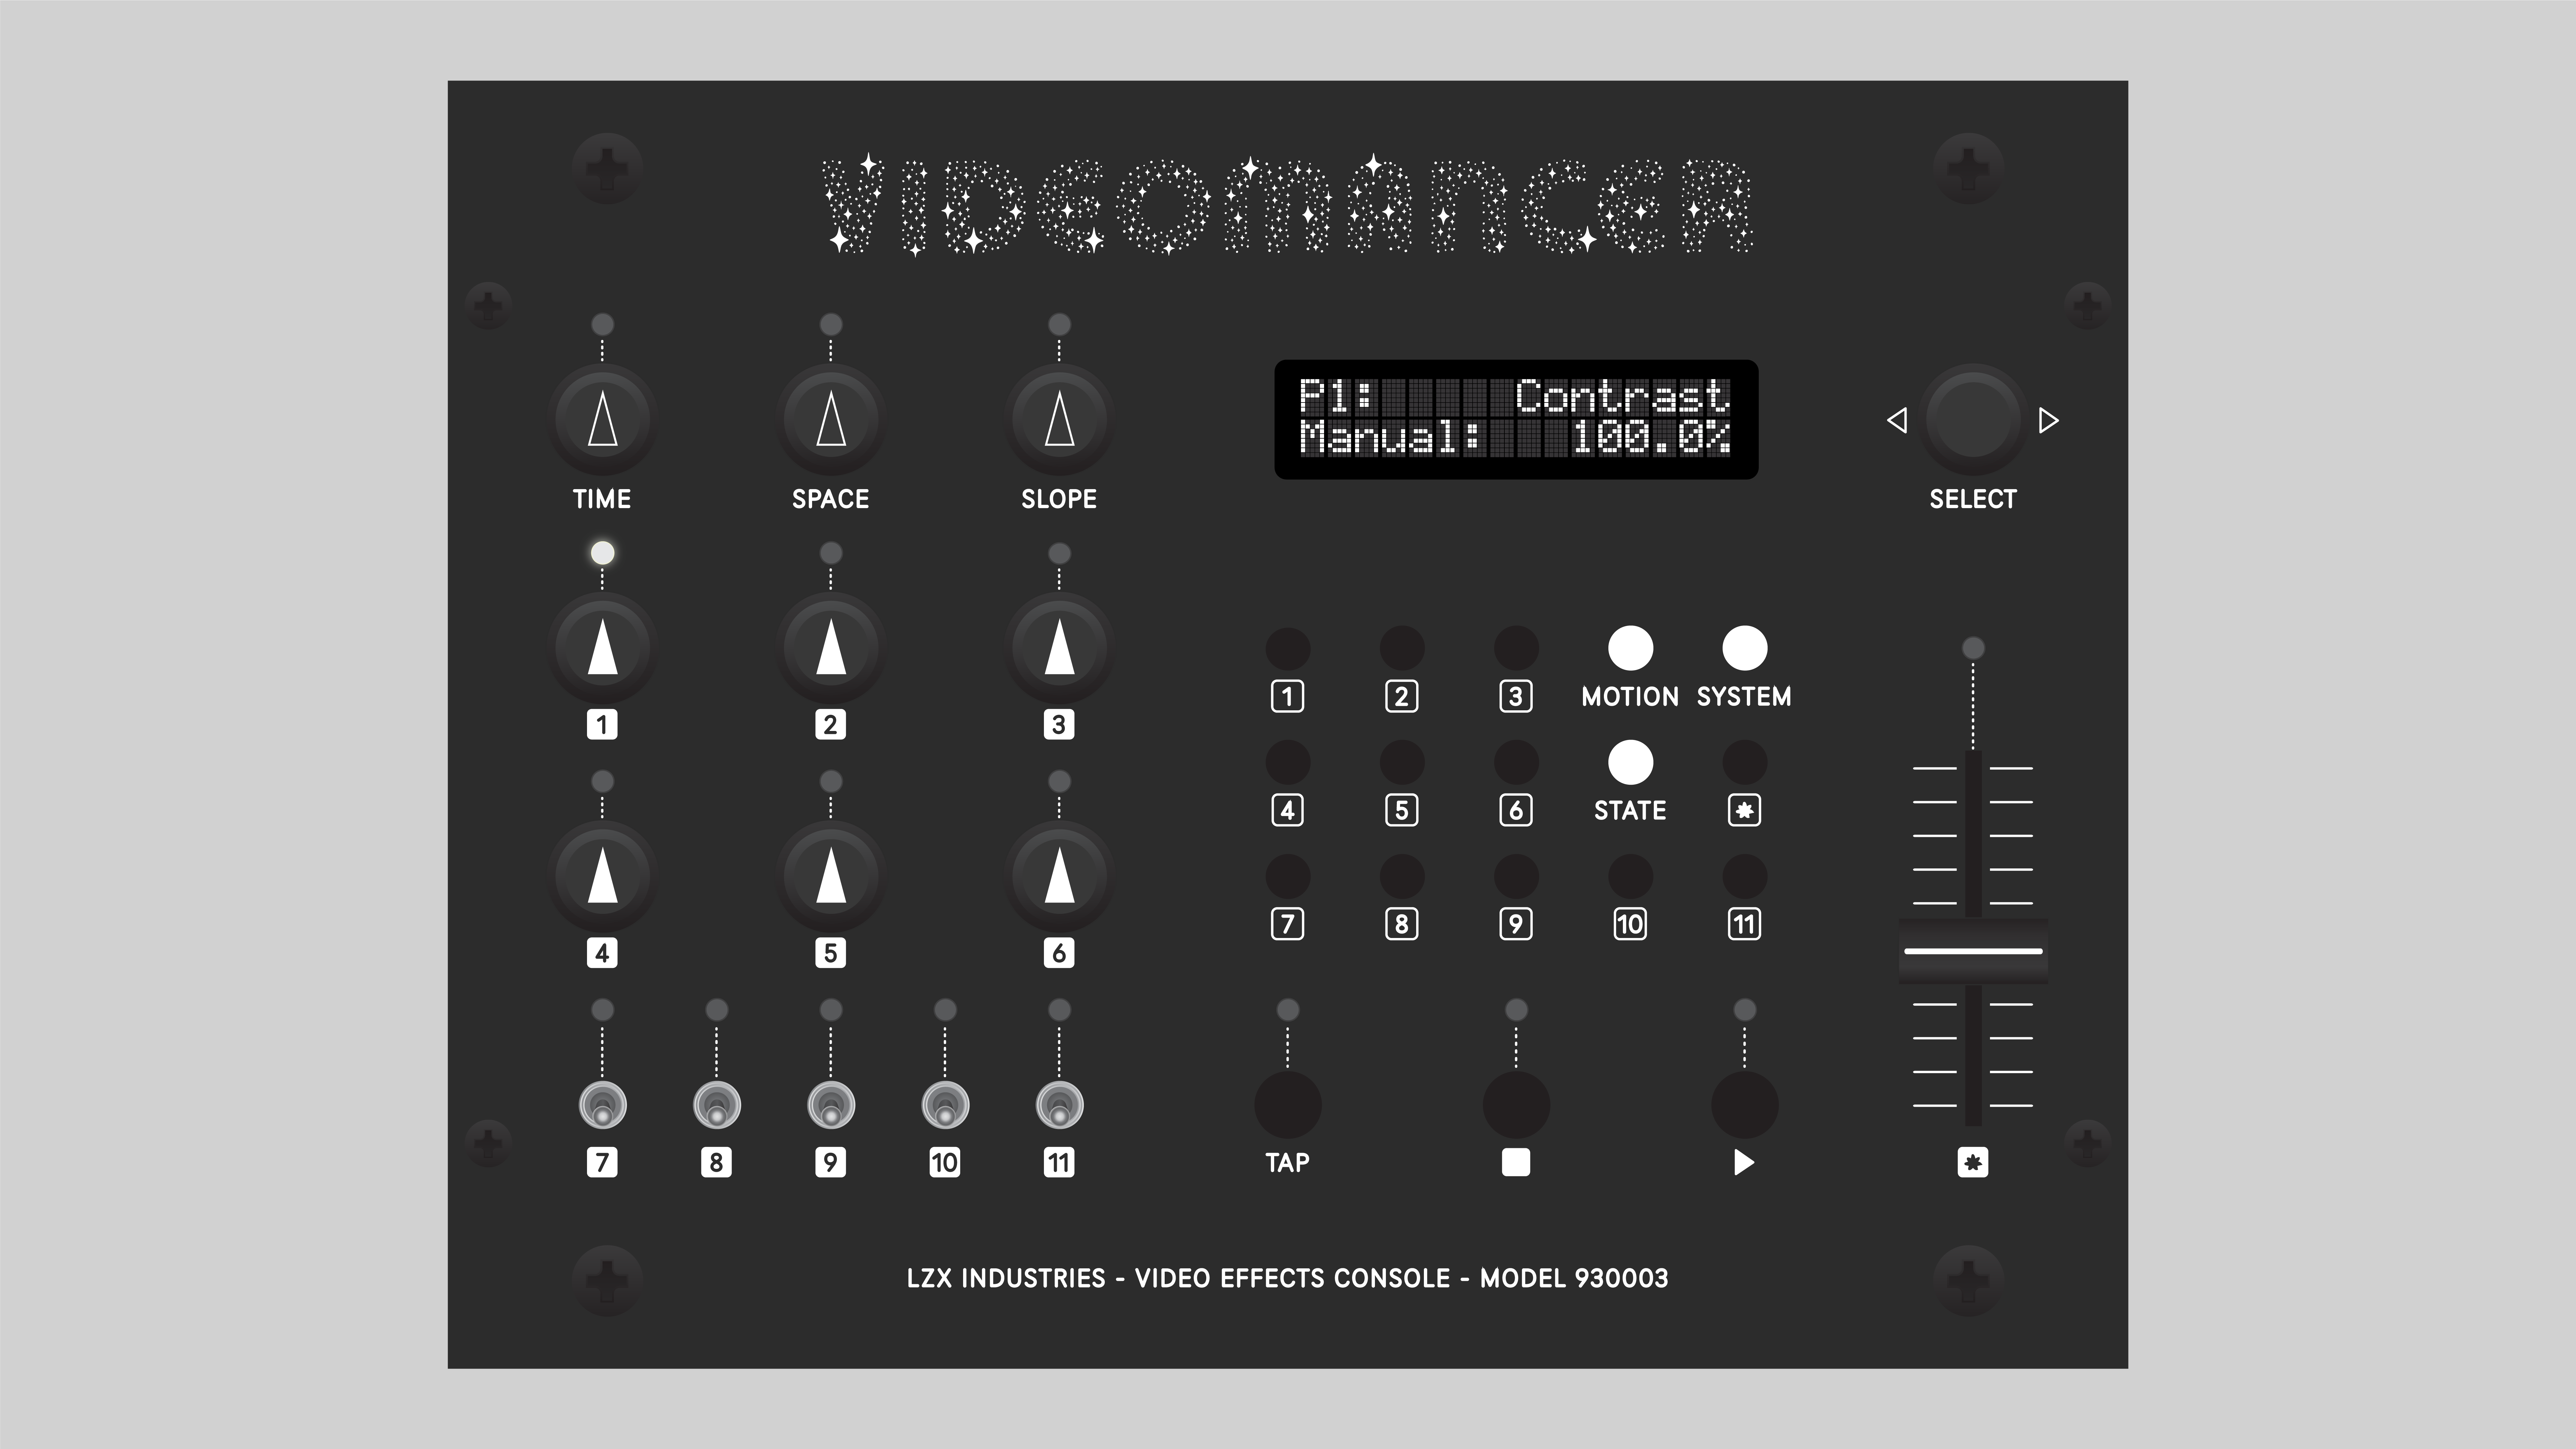
Videomancer's creative power comes from its Programs — firmware applications that process or generate video in different ways. Each Program transforms the twelve front panel controls into a unique instrument.
To load a Program:
- Press the SYSTEM button — the currently loaded Program name appears on the top row of the display
- Press the Rotary Encoder — a right-facing bracket ( > ) appears, indicating Program selection mode
- Turn the Rotary Encoder to browse the available Programs
- Press the Rotary Encoder to load your selection
Suggested first Programs:
- Passthru — passes video through with gain, inversion, and color space controls. A great starting point to see how Parameters work.
- Colorbars — generates SMPTE-style color bars with no input required. Set Vid Route Mode to Standalone to use without an HDMI source.
- Prism — prismatic color rotation and shifting effects on input video.
When Videomancer loads a Program, all outputs are briefly disabled. Your display may show black or "no signal" for a few seconds. This is normal.
Some Programs default to a black output. If your display is black after loading a Program, try moving the ★ Slider (Parameter 12) to its full extents. Many Programs use this slider as a fade or luminance key.
Step 6: Play With the Parameters
Videomancer has twelve Parameters that control the behavior of the loaded Program. Each Program assigns different functions to these controls:
| Control | Parameters | Type |
|---|---|---|
| Knobs 1–6 | Parameters 1–6 | Continuous (turn to adjust) |
| Switches 7–11 | Parameters 7–11 | Binary (toggle on/off) |
| Slider ★ | Parameter 12 | Continuous (slide to adjust) |
Press any Parameter button (labeled 1 through ★) to see that Parameter's name and current value on the LCD display.
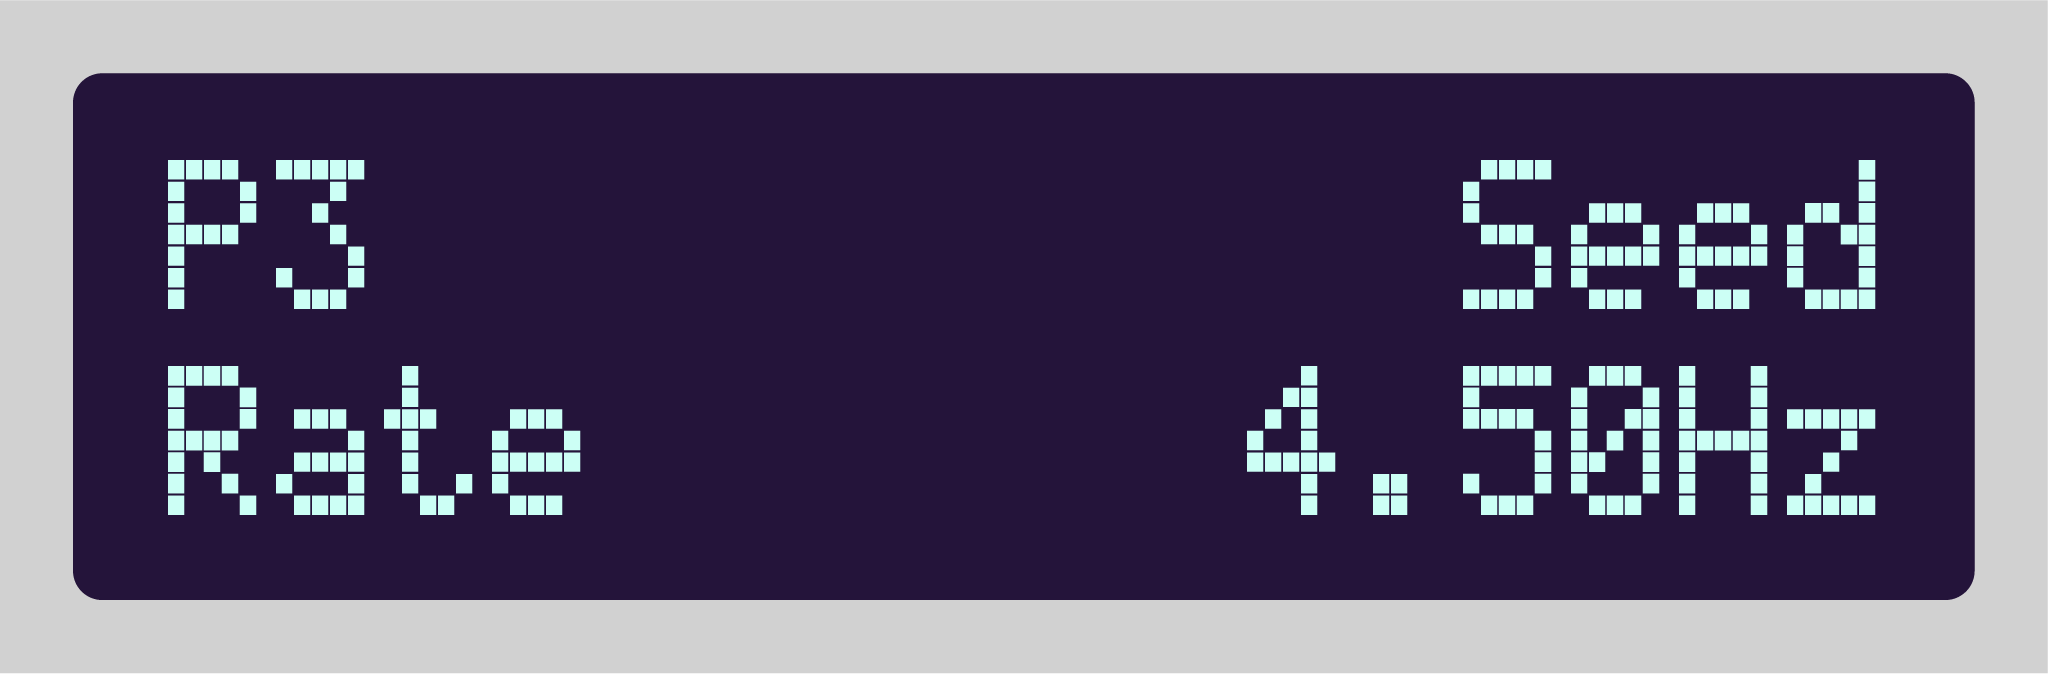
Every Program responds differently. Turn knobs, flip switches, and move the slider to discover what each Parameter does. The LCD display shows you the name and value of whatever you're adjusting.
Next Steps
You've connected Videomancer, loaded a Program, and explored its Parameters. Here's where to go next:
Motion Control — Press the START button to activate the transport and unlock time-based modulation. Your Parameters come alive with oscillators, sequencers, and generative algorithms. See MOTION in the User Manual.
Modulation — Assign any of 39 Modulation Operators to any Parameter: oscillators, audio reactivity, envelope followers, random generators, physics simulations, USB game controllers, and more. See the Modulation Guide.
Save States — Save and recall your favorite settings as Presets. See STATE Presets in the User Manual.
Program Guides — Detailed documentation for individual Programs, including parameter references, signal flow diagrams, and creative techniques. See the Program Guides index.